
7 Tips for Choosing an Outdoor LCD Display?
An outdoor LCD display has to do more than show a bright picture. It must stay readable under midday sun, handle rain and dust, and keep operating when temperatures swing. Those demands make the buying decision less simple than comparing screen sizes.
The market is expanding, but broad digital-signage figures should not be mistaken for outdoor LCD sales. Grand View Research estimated the global digital signage market at USD 28.83 billion in 2023 and forecast growth through 2030. That context signals wider adoption, not a guarantee that every display suits an exposed site. Check the specifications behind the sales pitch: brightness in nits, ingress protection, operating temperature, thermal management, and warranty terms. A screen beside a shaded café entrance faces different conditions from one mounted above a sunlit loading bay. Small differences matter.
Reliable advice matters, too. No source material or verifiable interview was provided for a named outdoor LCD expert quotation, so inventing one would weaken this guide’s credibility. The seven tips ahead focus on evidence buyers can inspect: site conditions, readability, enclosure ratings, connectivity, service access, total cost, and supplier support. Some choices still involve trade-offs. A higher-brightness panel may improve visibility, but it can also increase power use and heat. Check the details before committing.
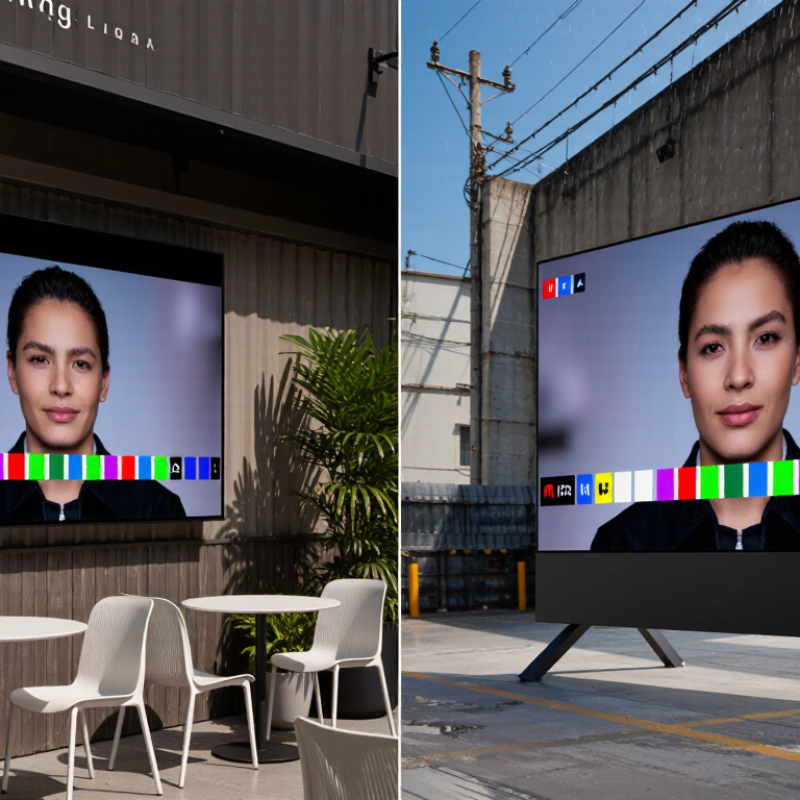
Define the Display’s Use Case and Viewing Distance Before Comparing Models
Before comparing outdoor LCD displays, define what people must see and where they will stand. A roadside message needs quick, large text; a menu beside a patio can show smaller details. Write down the main task, typical viewing distance, and how long viewers have to look. A passing driver may have only seconds. A seated customer may study prices for longer.
Measure the real site, not just the planned installation point. Check the distance from the screen to the nearest and farthest viewer, then consider viewing angles and obstacles such as umbrellas, poles, or parked vehicles. For example, a display viewed from across a wide plaza needs larger text than one mounted beside a queue. Walk the site at different times of day. Sunlight can make a screen look less readable than it appeared indoors.
Match screen size and content to those conditions before comparing brightness, resolution, or other specifications. If viewers stand ten metres away, test sample text at that distance; small labels may vanish even on a sharp display. Keep the message simple. That is not always easy. I have seen teams plan for ideal viewing positions and overlook where people actually stop. Recheck the layout with someone unfamiliar with the site, since their first glance may reveal problems the planning team missed.
7 Tips for Choosing an Outdoor LCD Display? - Define the Display’s Use Case and Viewing Distance Before Comparing Models
| Tip | What to Define or Check | Practical Guidance | Why It Matters |
|---|---|---|---|
| 1. Define the use case | Identify whether the screen will show menus, wayfinding, public information, advertising, or operational messages. | List the content type, update frequency, operating hours, and whether playback must continue without a network connection. | The use case determines the required screen size, brightness, connectivity, software, and duty cycle. |
| 2. Estimate viewing distance first | Measure the usual and maximum distance from the viewer to the screen, along with the typical viewing angle. | For example, a menu viewed from about 2–5 m may need larger text than a directory viewed from about 1–2 m. Treat these as planning examples, not fixed standards. | Distance affects the minimum readable text size and helps prevent choosing a display that is too small. |
| 3. Match screen size and resolution | Compare the physical screen dimensions, aspect ratio, and native resolution with the content layout. | A 16:9 Full HD panel has a native resolution of 1920 × 1080 pixels. Check that source content is designed for the panel’s native resolution. | A suitable size and resolution keep text and graphics legible without unnecessary scaling or cropping. |
| 4. Check outdoor brightness and reflections | Consider direct sunlight, shade, the direction the screen faces, and nearby reflective surfaces. | Compare the manufacturer’s stated luminance in nits and ask whether brightness is adjustable or automatically controlled. Test visibility in the actual installation conditions where possible. | Ambient light and reflections can reduce contrast and make content difficult to read, even on a high-resolution screen. |
| 5. Verify environmental protection | Check the enclosure’s ingress protection rating and its stated operating temperature range. | IP ratings use two digits: the first addresses protection against solid objects and dust; the second addresses water. Confirm the rating applies to the complete installed enclosure, not only a component. | Rain, dust, heat, cold, and condensation can affect reliability. The required protection depends on the site and installation. |
| 6. Plan power, cooling, and mounting | Confirm available power, ventilation or cooling requirements, mounting method, cable routes, and access for maintenance. | Use the display’s published power and installation specifications, and allow for site-specific structural and electrical checks. | Outdoor locations can expose equipment to heat, weather, and difficult service access. Installation requirements affect both cost and uptime. |
| 7. Compare operating and support requirements | Review daily operating hours, warranty terms, service access, content-management options, and connectivity. | Confirm whether the display is rated for the intended duty cycle and whether remote monitoring, scheduled playback, or local media playback is needed. | A model that fits the viewing conditions may still be unsuitable if it cannot meet the site’s operational or maintenance needs. |
Note: Viewing-distance examples are general planning guidance. Final readability depends on content design, font size, contrast, viewing angle, lighting, and the display’s pixel density.
Related Posts
-
How to Choose the Best Outdoor LCD for Your Needs?
-
Best LCD Display Outdoor Options for Global Buyers?
-
What is LCD Display Outdoor and How to Choose the Best?
-

Who Are the Top Outdoor LED Display Suppliers in China?
-
Top 10 Types of Outdoor LED Displays for Global Buyers
-
Top High Brightness LCD Displays for Ultimate Visibility?